

*Gasp* *Pant*
I made it!
I’m here with another Menu Monday! Late Monday, but Monday nonetheless! *Sheepish smile*
*Clears throat*
Onto what you’ve been waiting for… the tutorial!
Today we are baking bread! XD
Ingredients:
- Light creamy/tan color of clay (I use polymer clay) (you can mix colors such as white in, too)
- A knife/blade for the clay (get parent’s permission, first!)
- Paint (Kind of a dark/orange-y mustard color)
- Optional, but recommended: aluminum foil
Let’s go!
I’ll first show you how to make a baguette! You could take this and make a regular loaf, too, if you want.
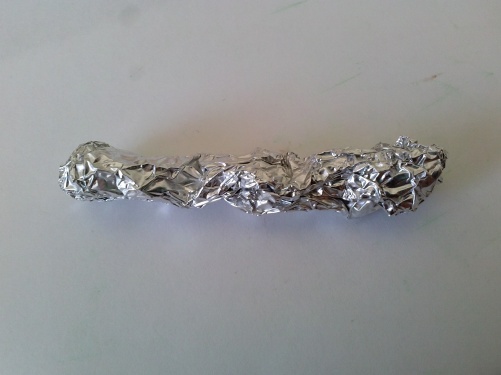
Crumple your foil into an elongated oval/log shape. (I use the foil in these projects to save on clay, if you want to make your bread only out of clay, that’s fine. 🙂 )
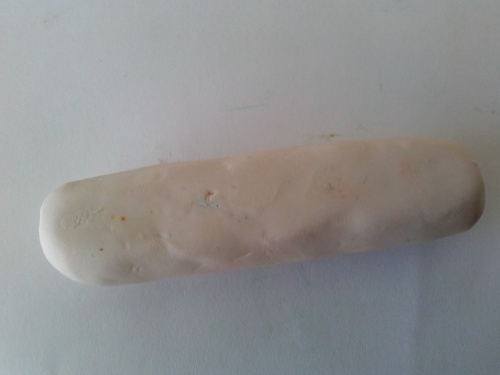
Cover the shape with your creamy colored clay. Press the loaf gently down on a flat surface, to make the bottom flatter.
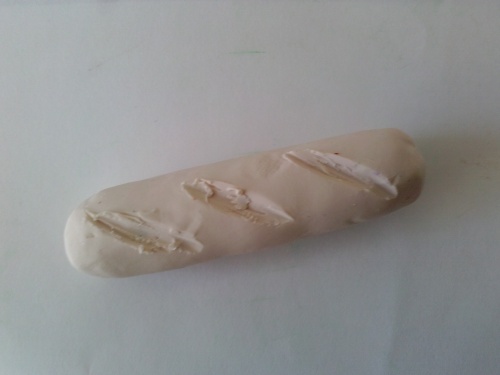
Put a few cuts into the top of the bread, at an angle. Then slightly to the side of those cuts, put another one, but slice towards the first one, so you can cut out the slit. Did that make any sense? You should probably refer to the picture… The cuts don’t have to be nice and clean, they can be kind of messy, like when real bread splits open at the top.
Now for the rolls!
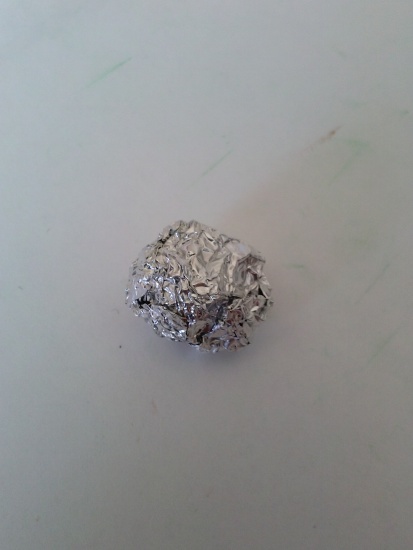
Make a relatively small ball of foil (or a few of them)
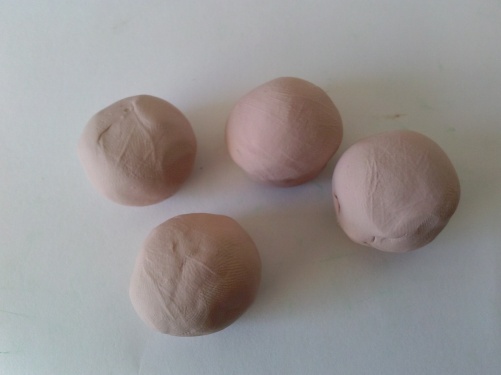
Cover each with clay, and press the bottom of each gently against a flat surface, so that, like the baguette, the bottom is flatter.
Bake all your clay (or let it air dry, if it’s supposed to) according to the directions on it’s packaging.
Once baked, get your paint out. (NOTE: when you paint the baguette, don’t paint the slits in the top of the bread)
You can try a couple of options.
1: Get a little bit of paint on your brush, and paint it onto your pallat or some scrap paper until the paint is being brushed on dry, then dry brush it onto the bread.
2: Get a little bit of paint on your brush and brush it on your scrap a little, then get your brush a little wet, and paint it on your bread like that.

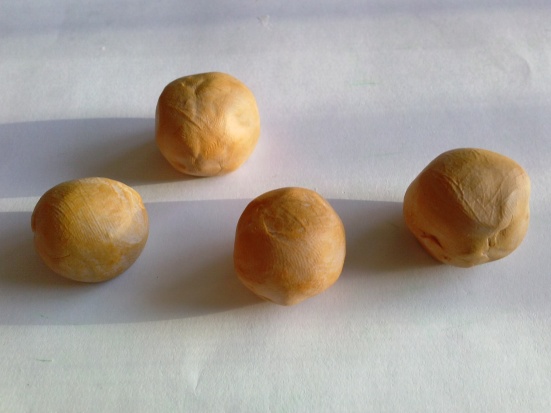
Let dry (seal it if you’d like to) and you’re done!
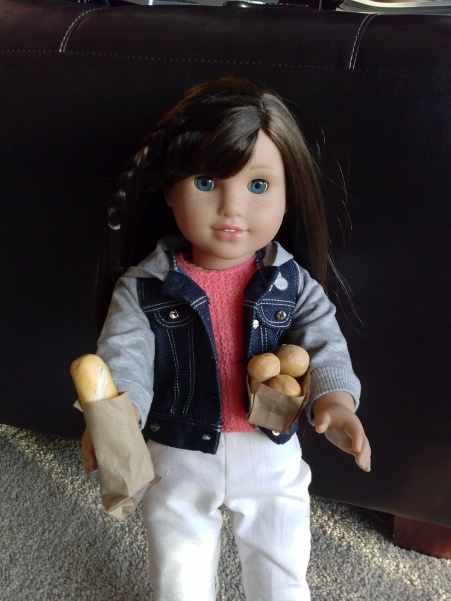
Grace was happy to get some fresh bread from the bakery, and is excited to share it with her family!
Signing out,


CUTE!
LikeLiked by 1 person
Thanks! 🙂
LikeLiked by 1 person
That is brilliant with the tin foil. Hoorah for budgeters!
LikeLiked by 1 person
Thanks! I was trying to mix a bunch of clay for the loaf, and it was getting to be quite a bit… so I remembered that trick; it sure is a clay saver! 🙂
~Gracie
LikeLiked by 1 person
Great idea- really cute!
~ Light4theLord
https://dollsnall.blogspot.com
LikeLiked by 1 person
Thanks, Light4theLord! 🙂
LikeLike
YUM! I made bread like this with playdoh once, but it didn’t turn out nearly as delicious-looking as yours. I really need to move on from playdoh, huh? XD Once again, I LOVE Menu Mondays! They are probably one of my very favorite things on your blog! You should totally sell some of your food items on your Etsy shop!
•Madison•
LikeLiked by 1 person
Haha! Playdoh is a lot of fun, too XD . Thank you so much!!! 😀 😀 I do sell some food things on there, but I should make more! 🙂
~Gracie
LikeLiked by 1 person
LOL! 😄 You’re so welcome! 😀
LikeLike
So cute! I love the idea of using foil, and the whole post overall! The bread looks very professional.
LikeLiked by 2 people
Thank you!! 🙂
~Gracie
LikeLike
The bread looks yummy! 😀 Your use of foil is a great idea. 👍
LikeLiked by 1 person
Thank you! 😀
~Gracie
LikeLike
😱😱😱😱❤️❤️❤️
LikeLiked by 1 person
😀 ☺
LikeLike
Those are SO cute!
LikeLiked by 1 person
Thank you! 😀
LikeLiked by 1 person