
I recieved a really fun OG set for my birthday! (Which, by the way, I’m not saying is recently… or long ago… or somewhere in between… 😉 😉 )
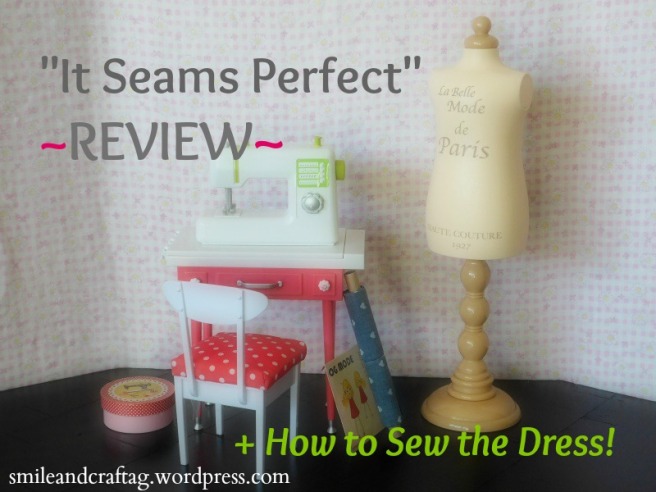
So today I’m here to review the Our Generation “It Seams Perfect” Set! (Yes, yes, you probably already knew that 😉 )
This is a super cute set, and I look forward to showing you it.
Here goes!
Here is the set, out of the box…
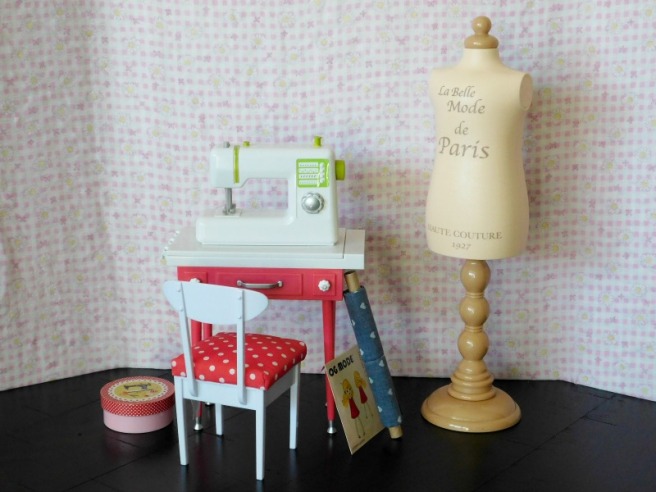
It’s really cute!
Now let’s dig in, shall we!? 🙂
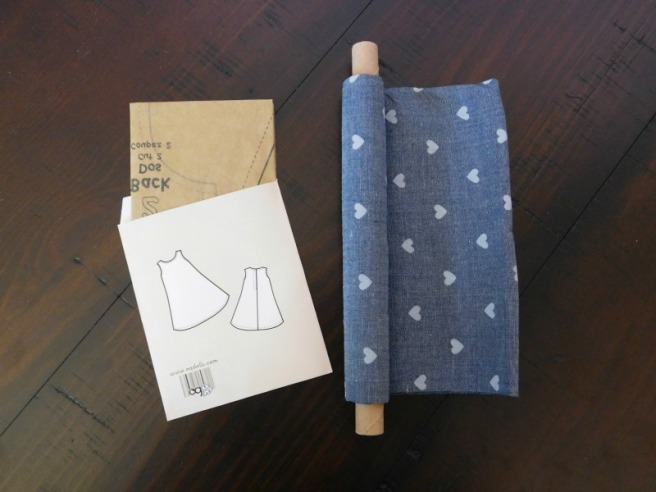
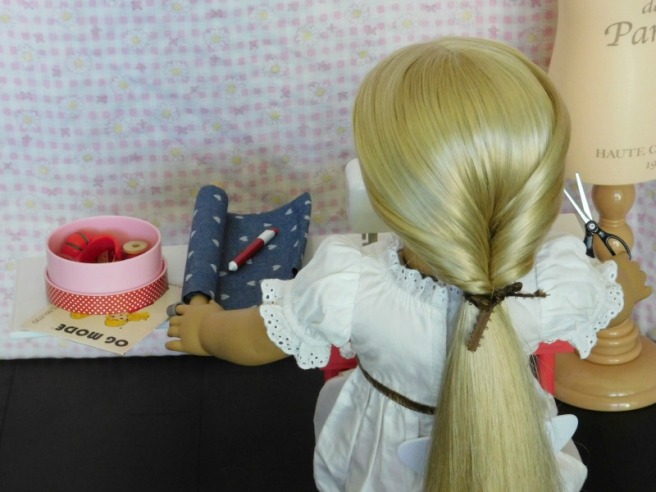
First off, here is a roll of cute heart printed fabric and a pattern that it came with. I think this is a super neat thing for Our Generation to include, since you can actually make a dress! I’ll be showing how the dress I made turned out, later, and go into some more detail of what I think of this part of the set. I also wrote up some instructions for making the dress.

It also came with a dress form, which is really neat! The dress form is able to rotate around it’s base. I have Julie next to it to compare sizes. From the front, the form is slimmer than her. It does fit clothes on it, but wider necked outfits may be hard to rest on the small dress form shoulders. I also noticed that the letters on the form can come up too high if your dress neck is kind of low. You might be able to fix this by using the dress form backwards. 🙂
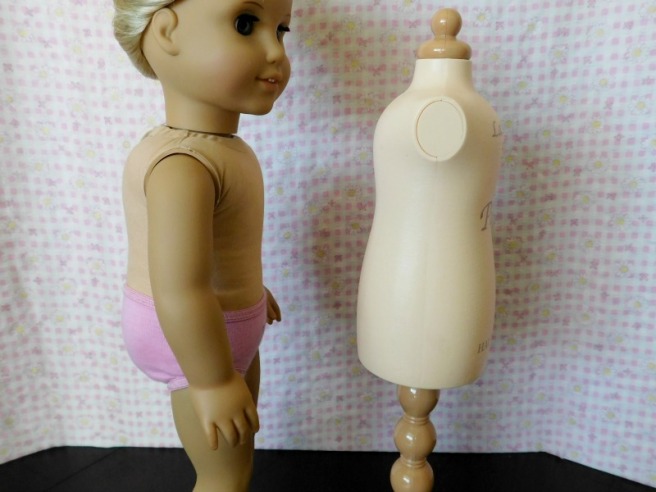
The side also looks a little slimmer than Julie.
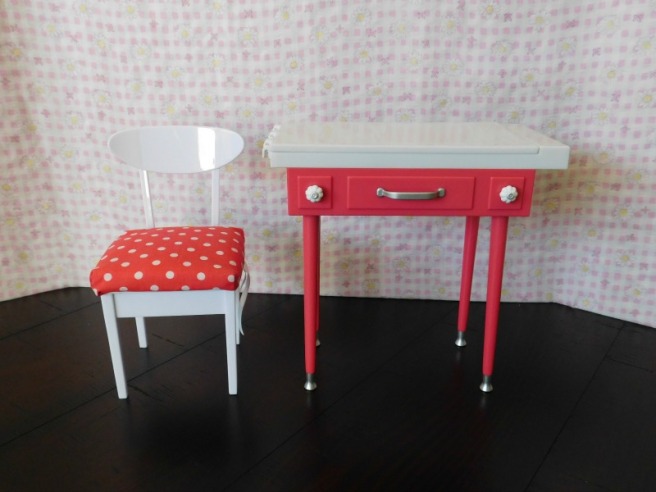
Here is the table and chairs! The chair cushion is a slightly different color than the table. I like the polka dots!

They fit in each other.
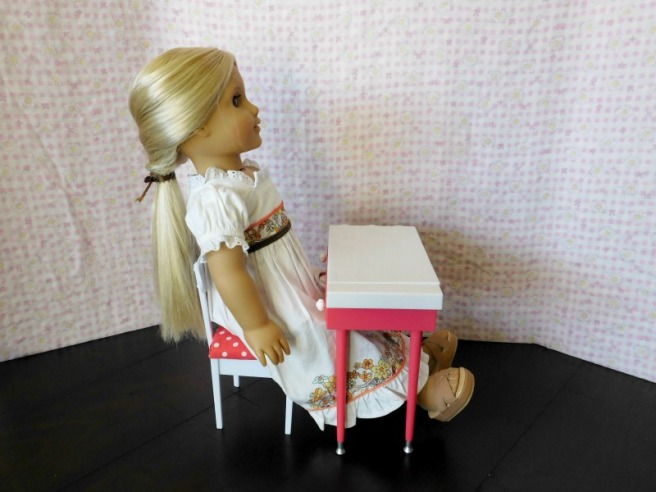
Julie fits, too! It looks a little small, to me, but is still nice (better to fit in small nooks of your doll house 😉 )
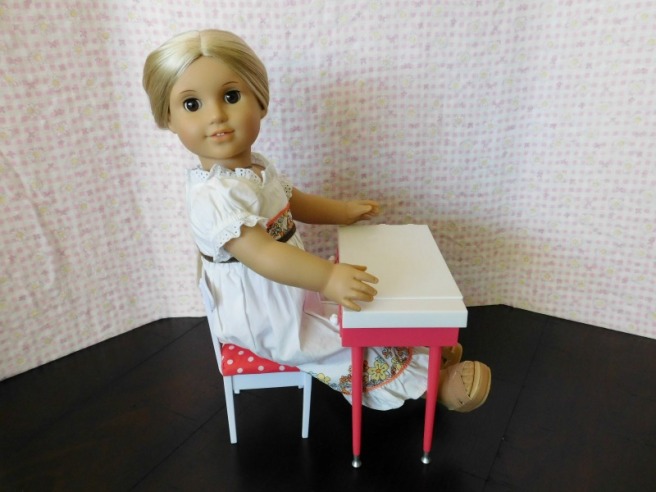
If there was a wall behind the table, Julie’s feet might make it a little awkward to sit at the table.
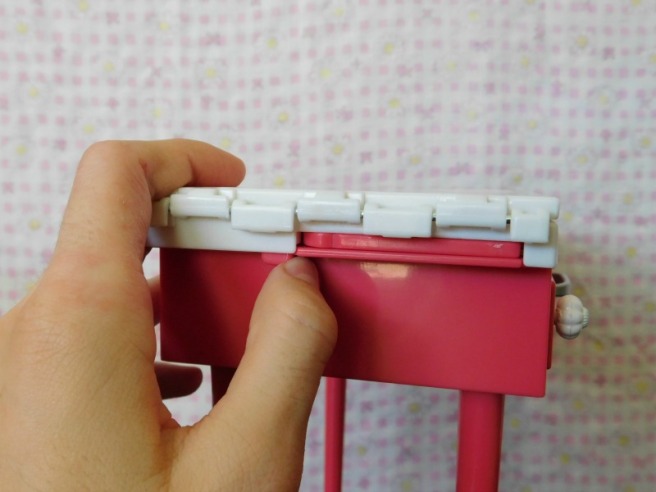
One great part about this table, is that the top flips out! There is a little switch that you pull on the side to…
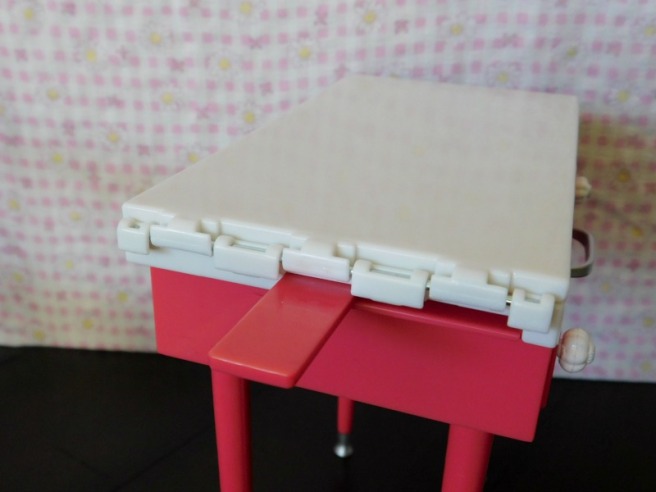
flip out a small bar to…
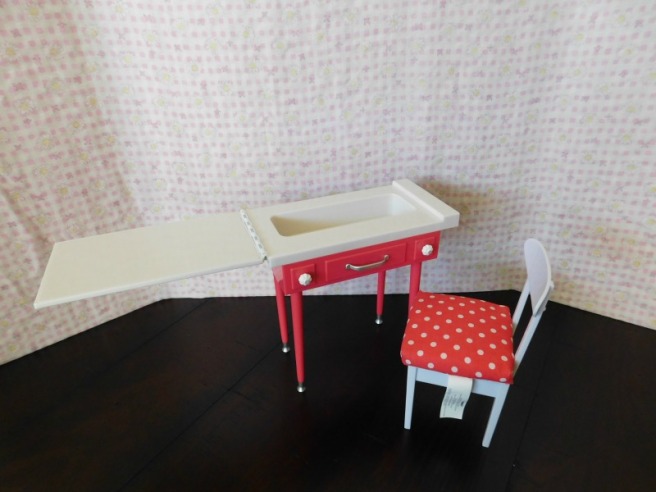
support the flip out part! This is really nice, because the table has a lot more room. Also, the sewing machine fits into the hole in the main part of the table, like in old fashioned sewing tables! (On another note, this picture shows the relatively large tag on the chair. Not too big a deal, you could cut it off if you wanted.)

One thing that’s kind of strange, is that the flip out doesn’t exactly make contact with the support bar… so, I’m not sure it actually helps…. I probably won’t end up using the support bar much.
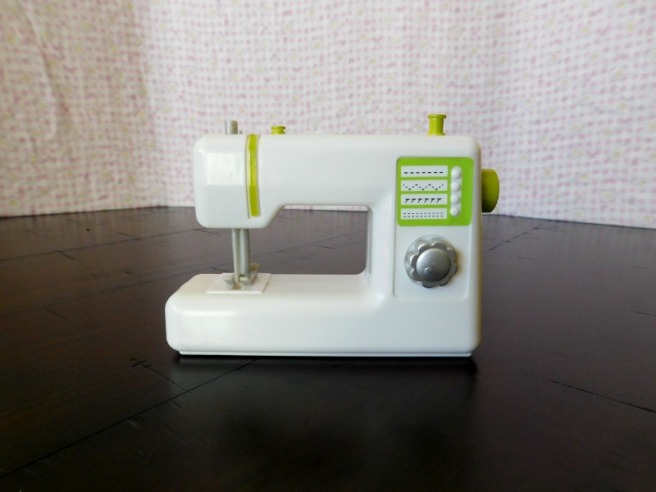
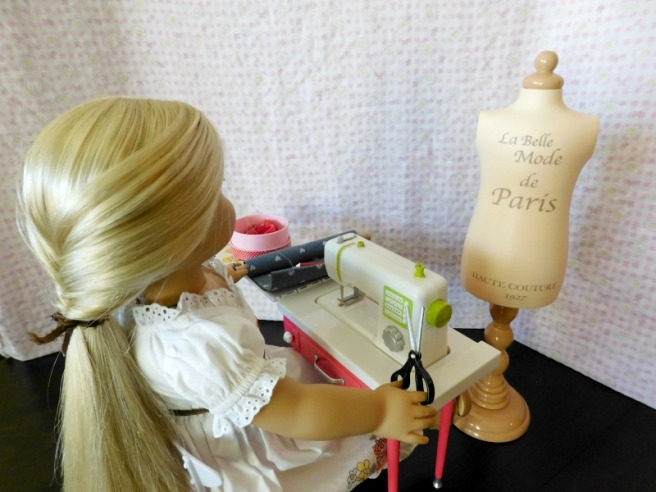
Now onto the sewing machine!! It’s plastic, and lightweight. I really like that OG made it pretty interactive. The silver flower knob spins around loosely.

The green knob on the side turns to move the needle up…
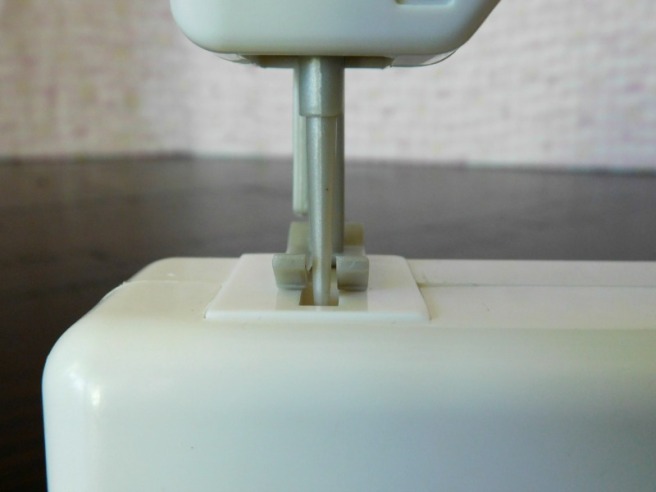
and down.
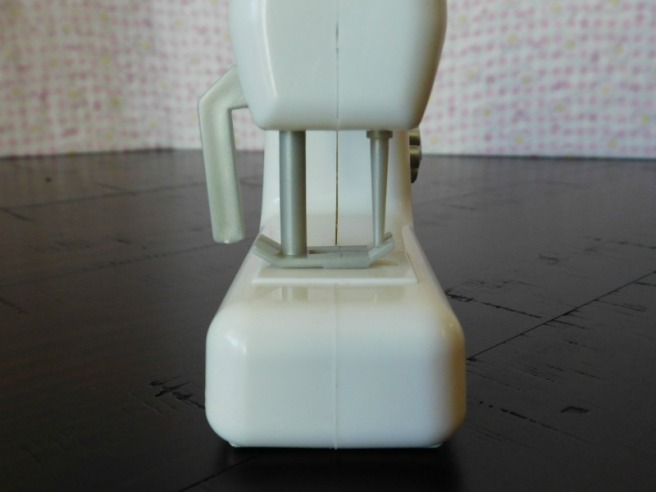
There is also a lever in the back to move the presser foot.

Like so. 🙂
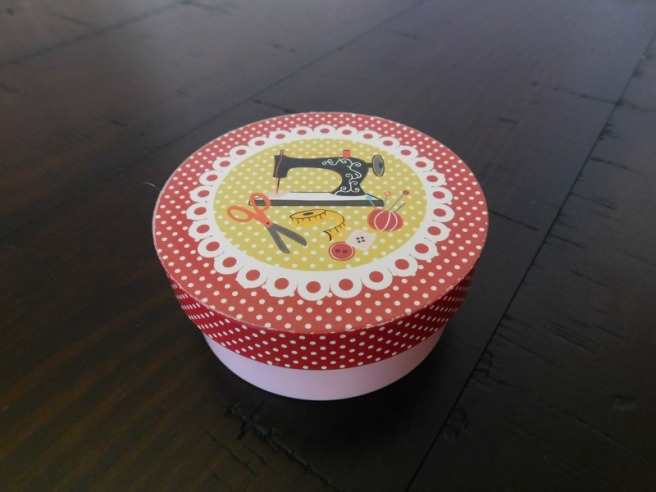
The set also came with this sewing box. The lid is removable.

And all of the little accessories fit inside!
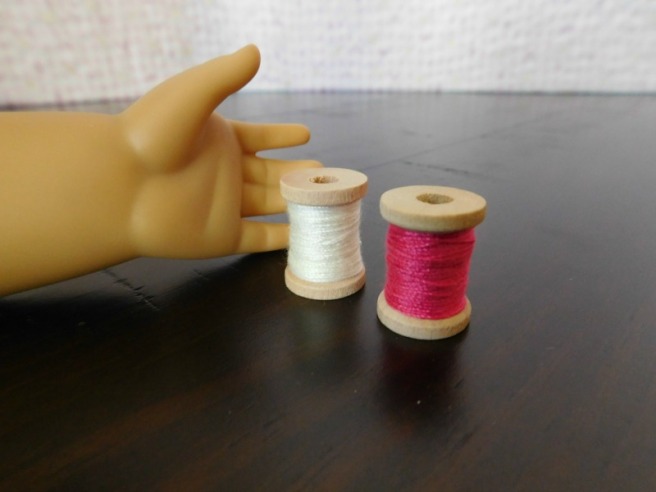
There are two wooden spools wound with thread. One pink, and one white.
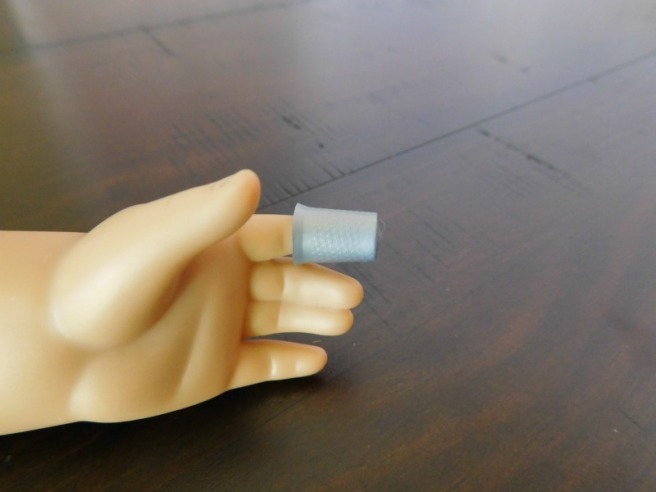
There is a tiny thimble that actually fits on Julie’s finger!!
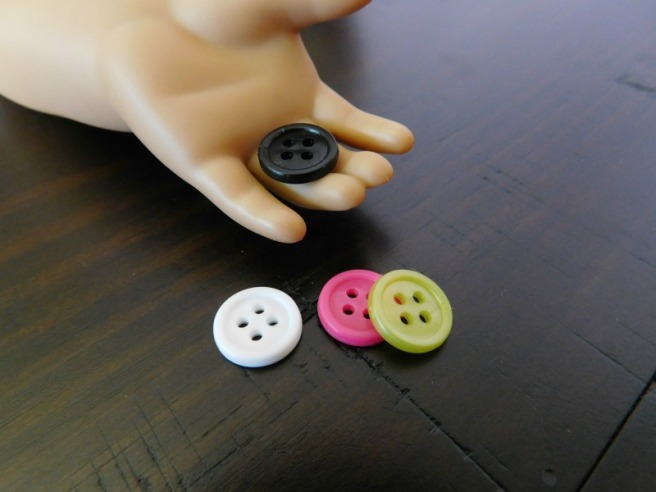
My set came with four buttons, though the packaging advertised eight. Black, white, pink, and yellow/green.
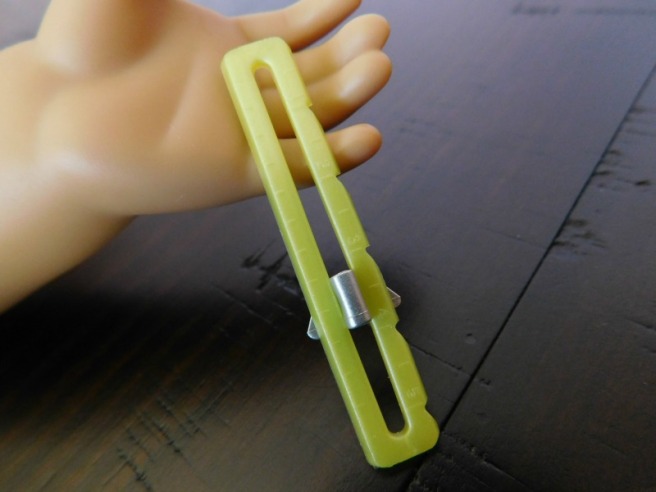
I hadn’t known about this tool before. OG calls it a buttonhole measure tool. I think it’s actually a sewing gauge, which can probably be used for buttonhole measuring.
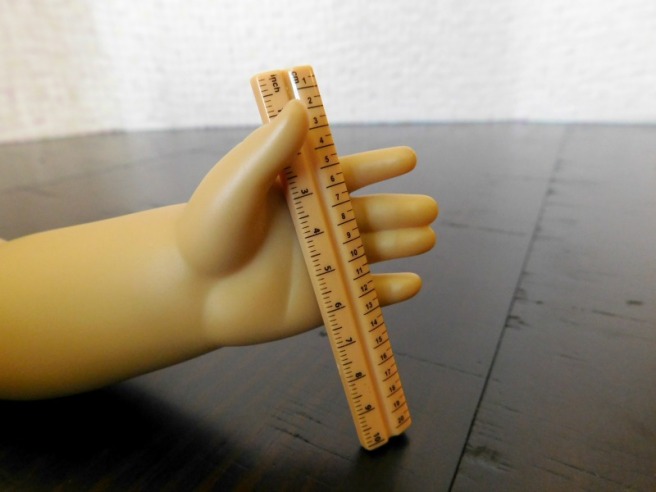
And here is a ruler, which looks just like the one from an OG math set I reviewed a while ago.
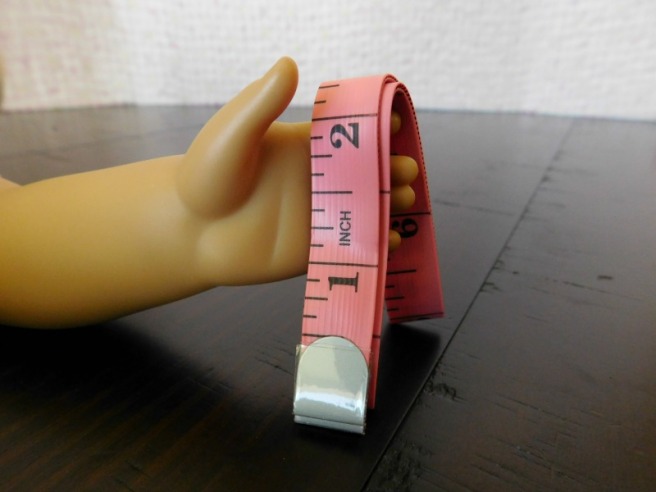
Here is a tape measure, which I find strange because… it’s human sized. We can pretend otherwise 🙂 . It has inches and centimeters.
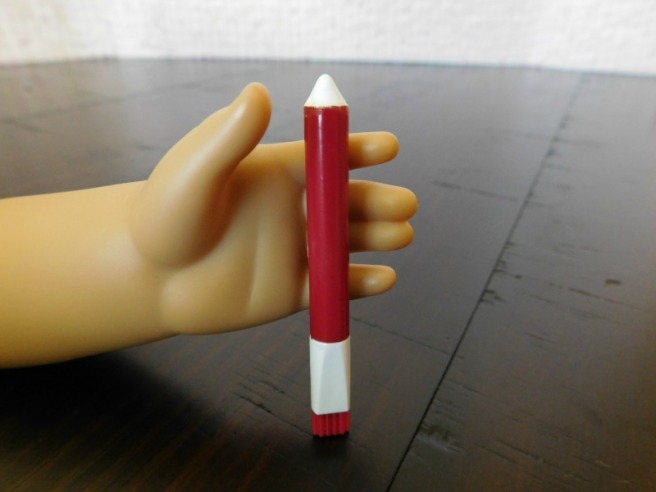
Here is a little plastic chalk pencil, so your dolls can mark on their fabric! It looks like the other end has a little fake sewing machine cleaning brush.
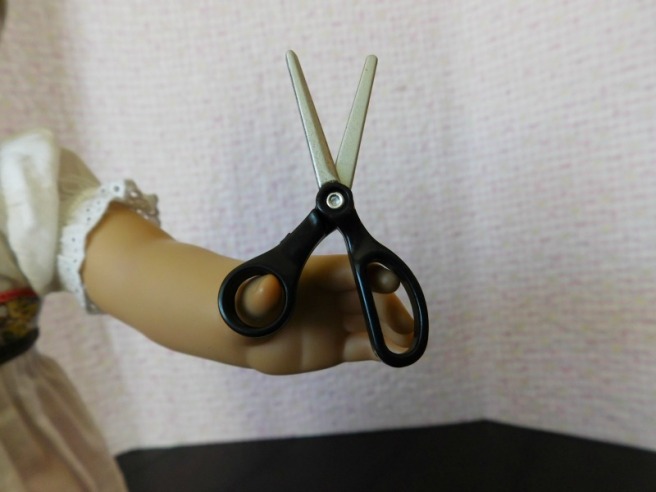
Here are some cute little scissors! They open and close and are also made of plastic. They fit in Julie’s hand, but can be hard to position so that it fits.
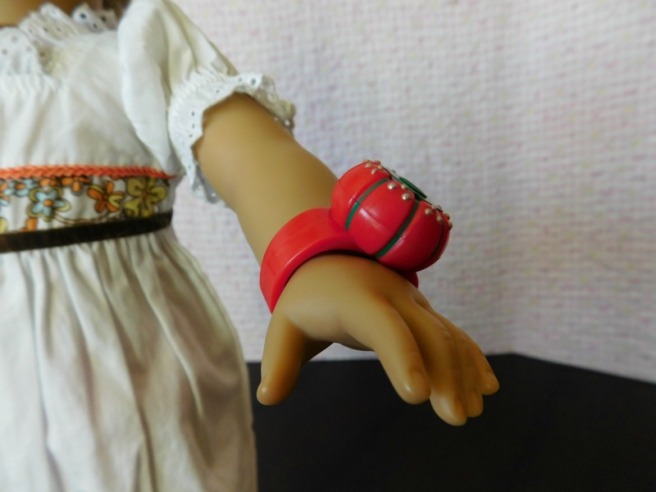
Last of these sewing supplies is a plastic tomato pincushion. It has a hard band so that it can be worn by your dolls like a bracelet. I managed to pull it over Julie’s wrist, but I don’t plan to do that again, because I don’t want to damage her arm with the tight, hard band.
And that’s everything! Here is Julie enjoying the sewing set. She is the main seamstress of the Thomas family household.
I think it’s a super cute set, with a great play value!
I also made the dress with the fabric and pattern that came with the set!
Here it is…
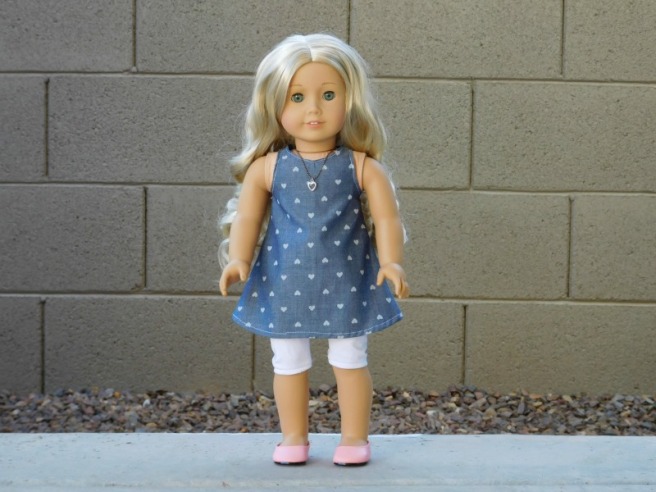
The dress pattern was very simple, just two pattern pieces, and three fabric pieces to cut. I felt like hemming the neckline and armholes was kind of tricky. The dress turned out cute, but I felt like it was a little short, and the shoulders seem a little small on Caroline. The fabric is also quite thin. I still like it, though, and think it’s quite cute! I think Clara will probably like this outfit 🙂 .
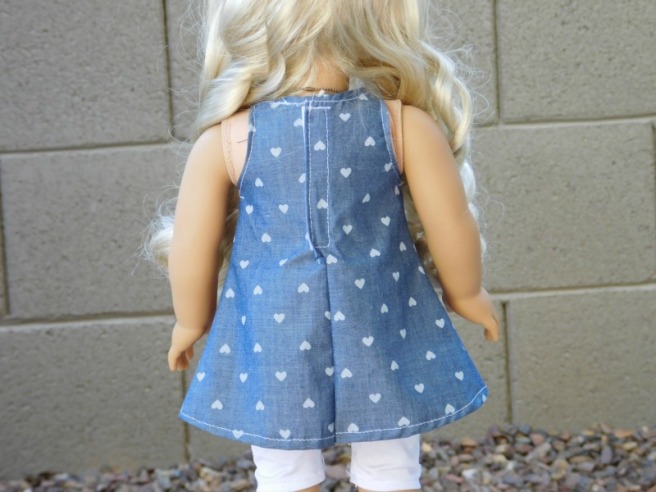
Here’s how the back of mine turned out. I was kind of confused on how to attach the velcro, but I figured out a way.
I also think it would have been good for OG to include instructions on how to sew it. It could be confusing for young girls trying to sew this.
I thought I would include some of my own instructions…
- First cut out the paper patterns.
- Fold your fabric in half.
- Pin the pattern pieces to the fabric. Make sure the piece with the side labeled fold is laid with that side on the fold. Then cut out the fabric. You should now have three pieces of fabric.
- You can iron the pieces if you want.
- Line up the shoulders of the dress. One back piece to one front shoulder and the other back piece to the other front shoulder. Make sure the good sides are together.
- Sew a 1/4 inch seam along the shoulders.
- Next fold the edges of the armholes in about 1/4 inch (the fold should be wrong side to wrong side) and pin it as you go. Do the same to the neckline.
- Then sew those folds.
- Next line up the sides of the dress, good side to good side, and sew a 1/4 inch seam along the sides up to the armholes.
- Fold the bottom edge of the dress (wrong side to wrong side), and sew the hem.
- Put the back of the dress together good side to good side and sew a 1/2 inch seam about halfway up the back.
This is where I got kind of confused, and this is just my method for doing the velcro, but you may have a better one…
- Cut the hem perpendicular (90 degree angle) to the seam, at the edge of where your seam ends in the back so that the two flaps of seam allowance can overlap easily.
- Pin velcro on the good side of one, and sew (you can hem the flap a little, if you want).
- Then pin velcro on the bad side of the other and sew (again, you may hem).
And you’re done!
That’s it for this review! Overall, I think this is a really fun set.
Do you have the OG It Seams Perfect set? Do you want it? What is your favorite piece in the set? Did my sewing instructions make sense?? XD
Before you go I want to give a shout-out to Sam over at Beezus the Bear. Would you join me and others in praying for her as she goes through a very hard time? You can read her post here.
Have a blessed day!
P.S. I was scrolling down through my many images to fish out my sign off, and just daydreaming and thinking along the way when suddenly I found myself at the bottom of all of my images (As in, the end of all the images I’ve used in this blog) XD HAHA whoops!
